Design |
Thanks for helping with the Oakley Street Steps Mosaic Art Project! Here are some general guidelines to keep in mind when working on a riser at home.Start with the Black Lines
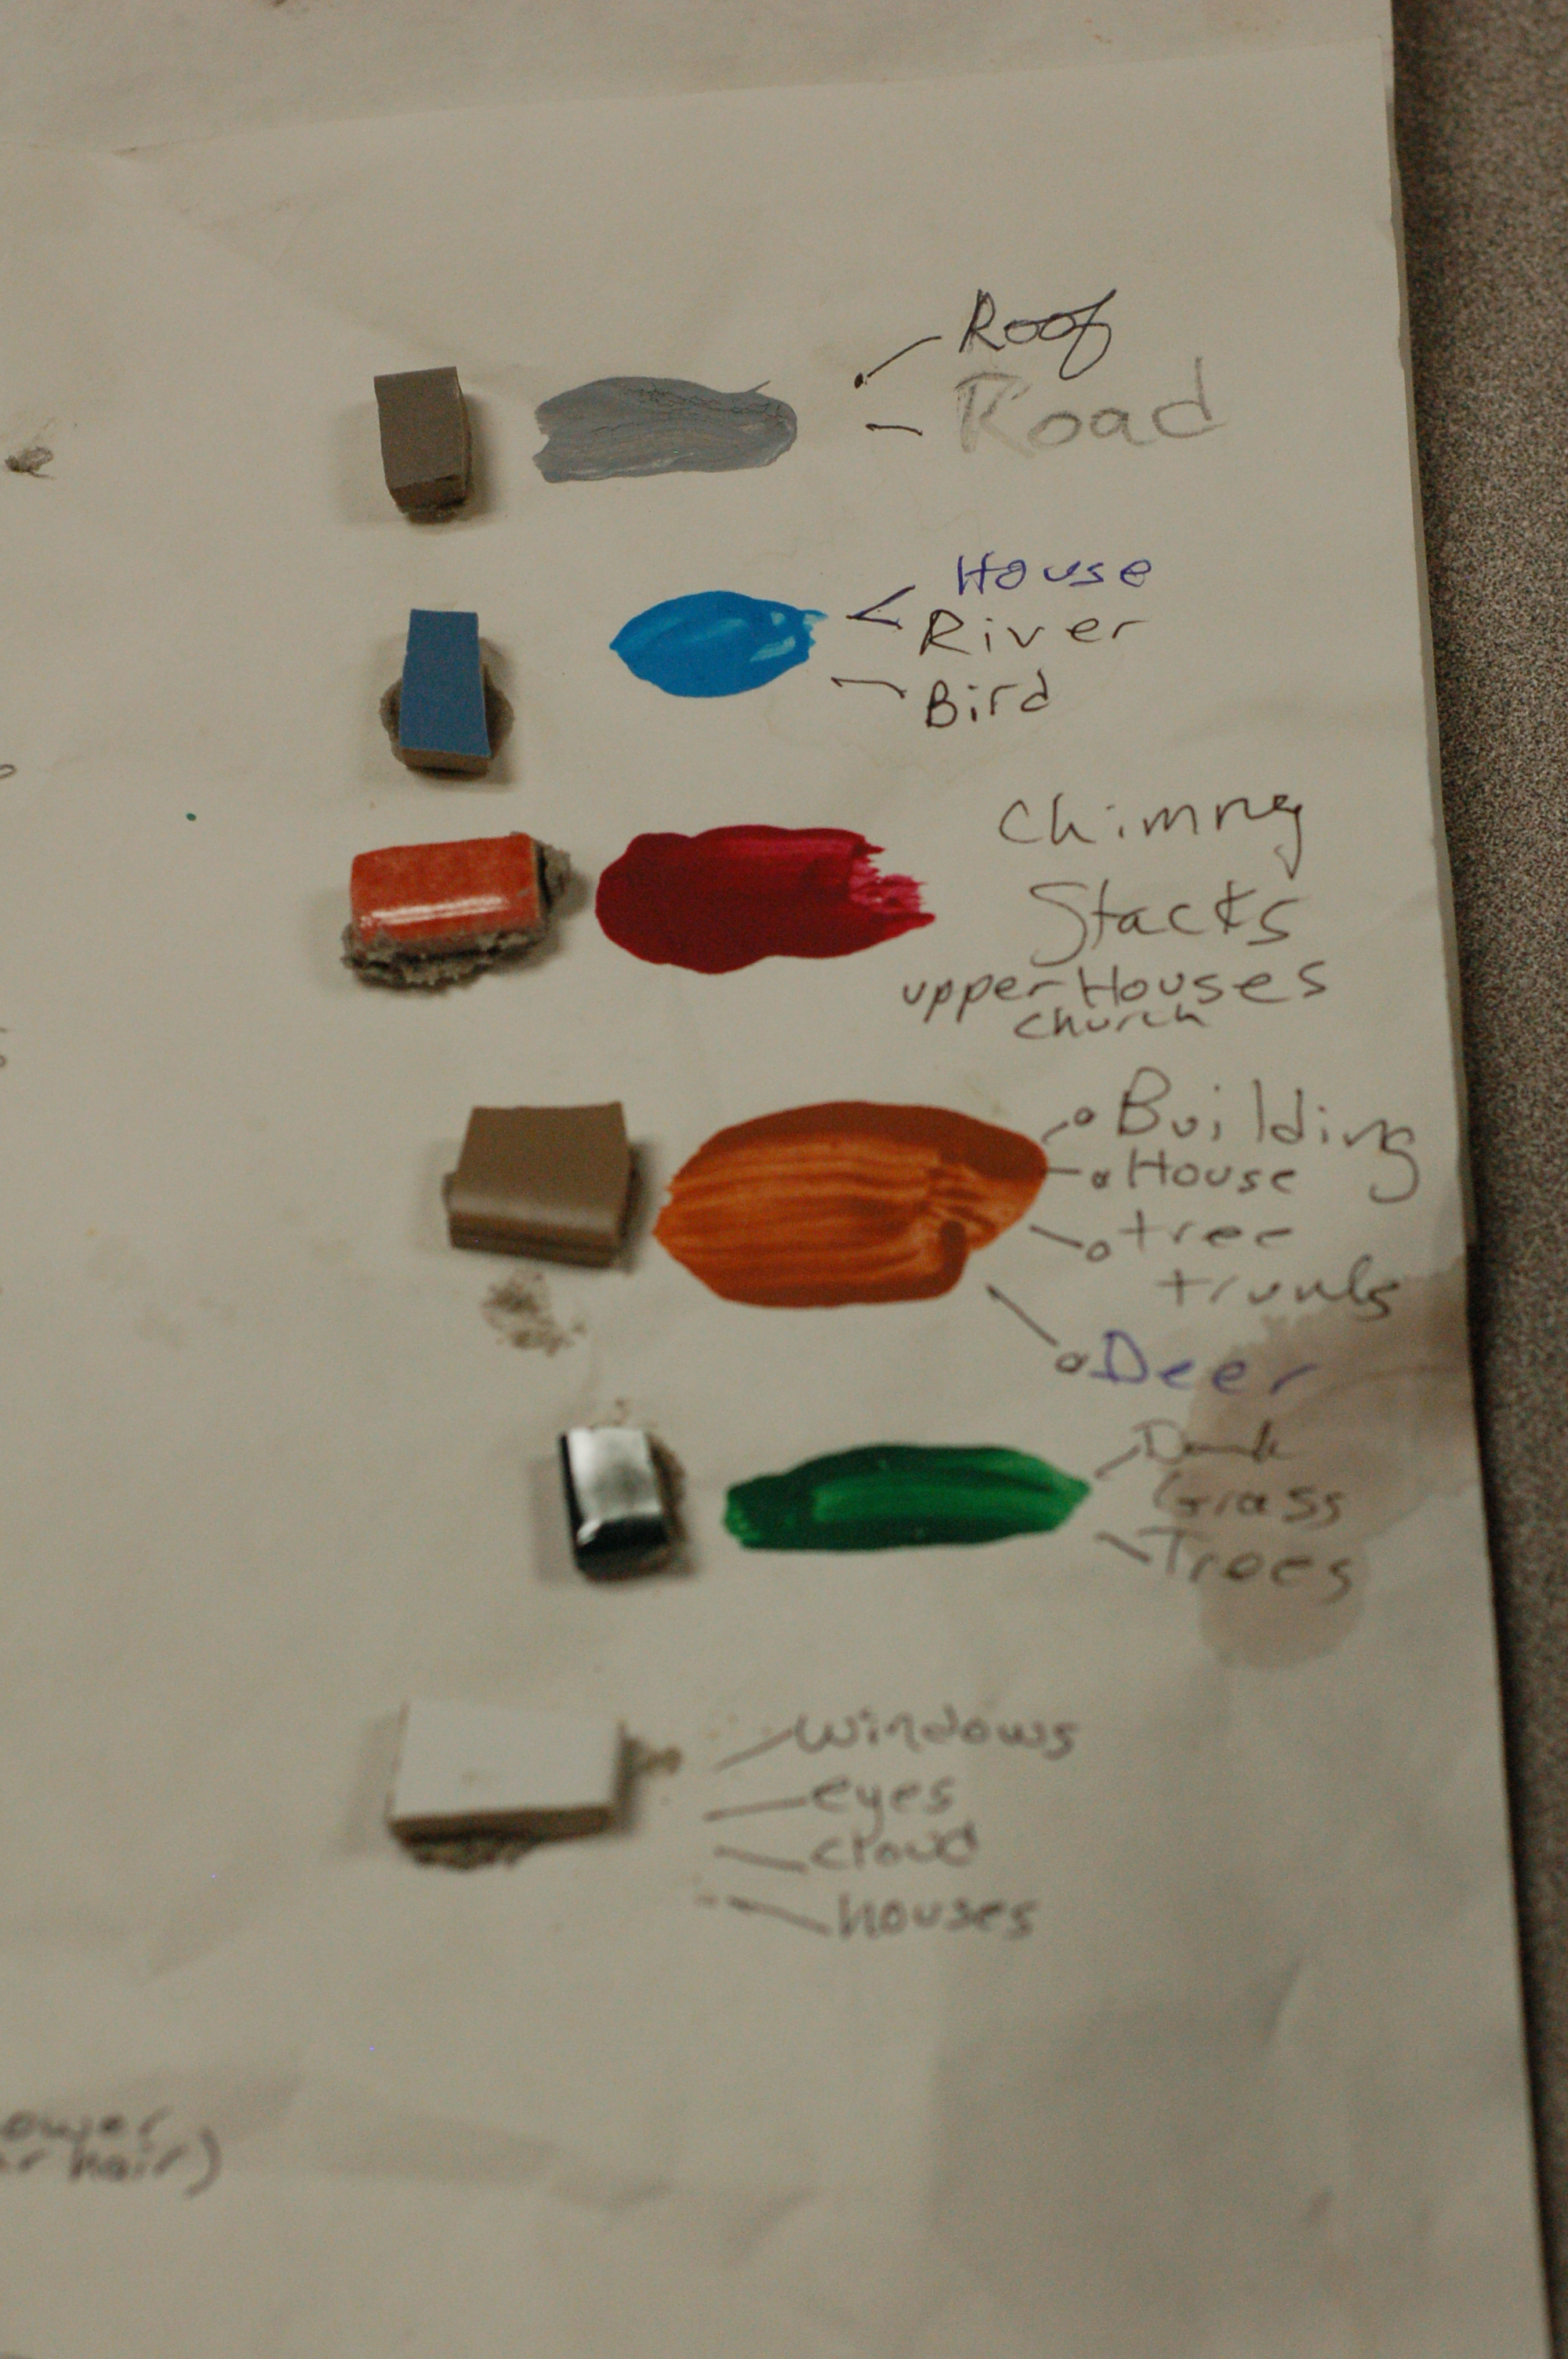
If you’re starting with a fresh riser, start with the black lines to outline the design. Use rectangle shaped tiles for the black lines. Stay on the Paper When applying tile, don’t go to the edge of the plywood/mesh, just go to the edge of the paper. The paper is the size of the actual riser. Try to make straight edge lines with the tiles especially on top and bottom of the riser. Just a dab of Adhesive In order for the artist to add adhesive later, there need to be gaps between the tiles not filled by adhesive. You just want to use enough adhesive to attach the tile to the mesh. Popsicle Stick Width Spacing The spacing between each tile should be at least the width of a popsicle stick. Quarter-Size Tile (at most) Each tile should be no bigger than a quarter in any direction. Tiles should also not be bigger than the line or color underneath. Avoid using chipped tile. Save Your Tile This tile is expensive and takes a long time to ship from Italy. If you end up with extra tile, please bring it back with your completed riser. Color Keys – Updated 8/24/2016
|


Any questions? Email stepart@southsideslopes.org